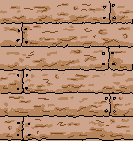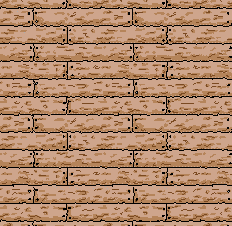

Hatch Tile
In Perspectives Pro Walls, floors and roofs can be covered with hatch styles. You can create your own. Each hatch style is stored in its own file, and contains a rectangular shape that tiles with itself.

Final result when tiles
1 Click New ![]() .
.
2 Click Blank Hatch Template.fct
(Optional) On the Template layer, draw a solid box of the color of a typical background color for the style
3 Click the layer indicator, and set the Standard layer current
4 Using CC3ís drawing tools create a tileable, front-on pattern
∑ Draw using only Polygon![]() , Path
, Path ![]() or Line
or Line![]() .
.
∑ Use only Hollow or Solid fill styles
∑ You can use entities of any line width or color
∑ Entities on the Template layer are ignored
∑ You donít have to draw in the square provided.
5 Copy the tile to the left of the template box. Adjust the left-hand side of the tile so that it matches. Repeat this for each side.
6 Delete any copies you have made
7 On the File menu, click Save As and save the file in the Symbols\Perspectives\Styles folder of CC3.
1 In an existing drawing, click Perspectives Settings on the Perspectives menu.
2 Click Update Hatch Styles.
3 Select an existing save setting, or start a new setting.
4 Pull down any hatch style list Ė your new file will be there.
5 Create a new Perspectives Setting with your hatch setting.
∑ For a quick hatch style, draw a tile, mirror copy it vertically, then mirror copy both tiles horizontally.
∑ Donít use too many nodes Ė hatch styles can grow rapidly and slow down your drawings.
∑ You can base your style on an existing hatch style: open any file in the Symbols\Perspectives\Styles folder.